Tutorial – Microsoft Windows Vista Installation
How to install Microsoft Windows Vista
1. First, enter BIOS and configure it for First Boot form CD/DVD
2. Insert Windows Vista DVD into your DVDROM drive
3. Press any key when see text “Press any key to boot from CD or DVD .." on your screen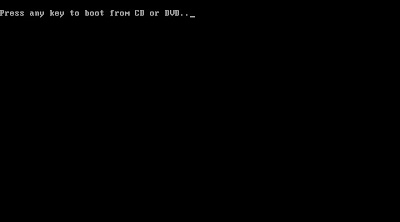
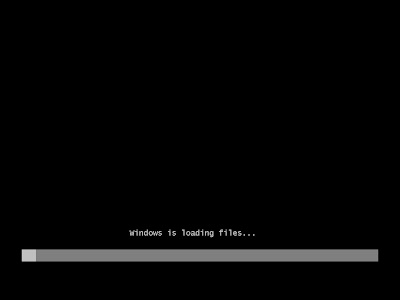
4. Installer will load Windows files
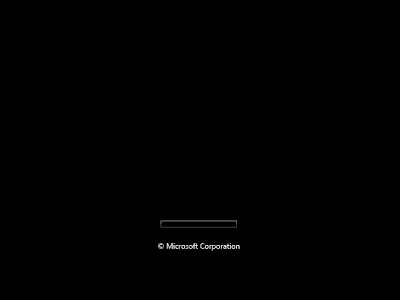
5. It will show boot screen for a few second
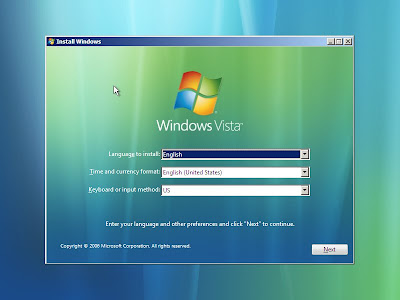
6. You will see dialog box “Install Windows”. Select language, time format and currency. Click Next
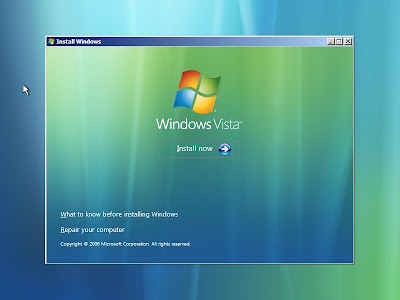
7. Click “Install Now”
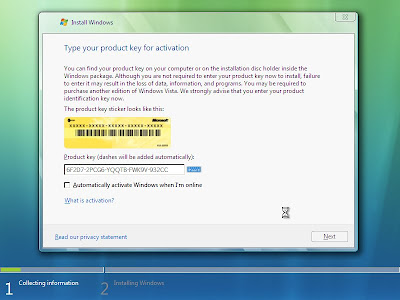
8. Type CD Key Microsoft Windows Vista (25 digit), click “Automatically activate Windows when I’m online” if you want Windows activate automatically when your computer online.
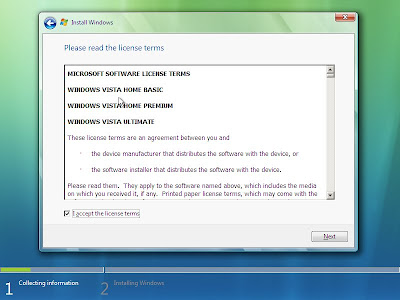
9. Click "I accept the licence term" for accept the licence. Click Next
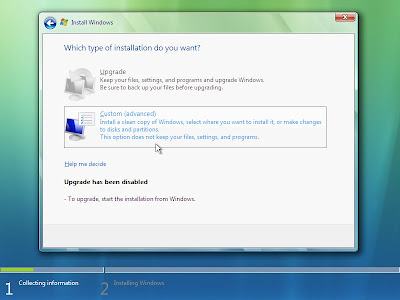
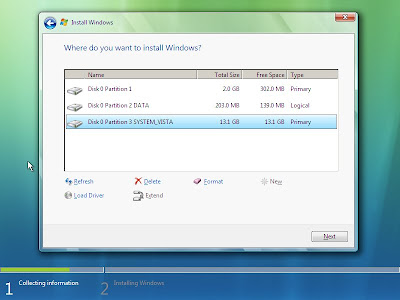
10. Click "Custom (advanced)"
11. Select partition you will be used for operating system, for example I choose Partition 3 (min 10 GigaByte). Click "Drive options (advanved)
12. You can format the selected partition. Click Next
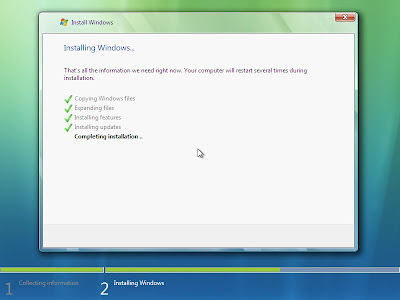
13. This is installation process. Please wait until complete

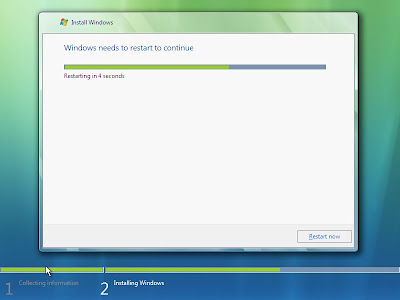
14. Click “Restar now” to restart the computer
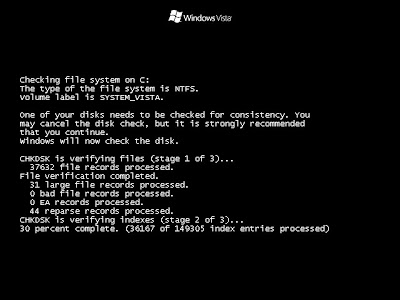
15. Windows back to installation and prepare the computer for first time and finishing installation
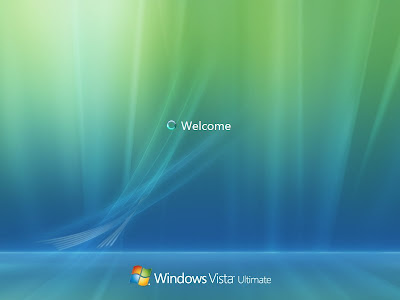
16. Windows is loading system files and enter boot screen
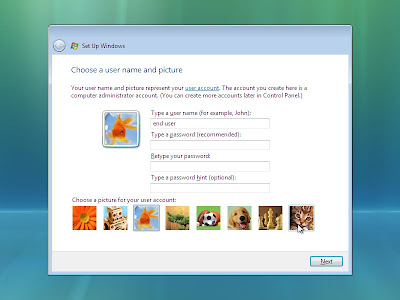
17. You will see dialog box Set Up Windows. Type user name, password, retype password and password hint. Click Next
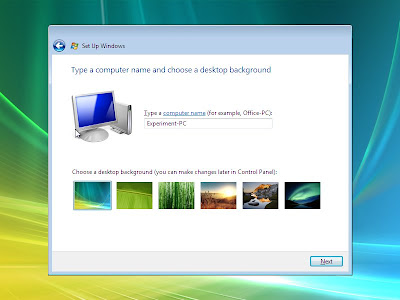
18. Type Computer Name and select background.
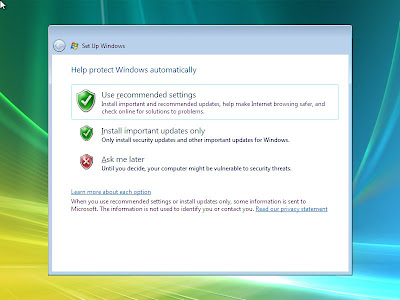
19. Select "Use recomended settings" to install recommended updates and protection. Select "Install important updates only" to install important updates only. Select “Ask me later” to leave it. It is not recommended
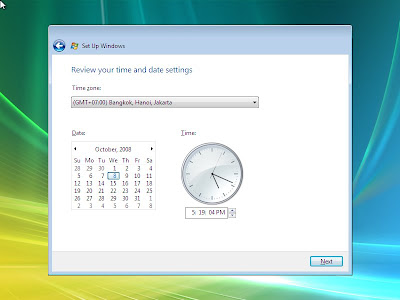
20. Select your time zone. Adjust time. Click Next
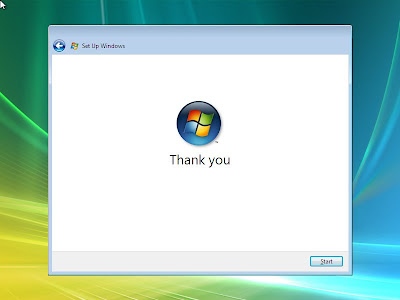
21. Click Start
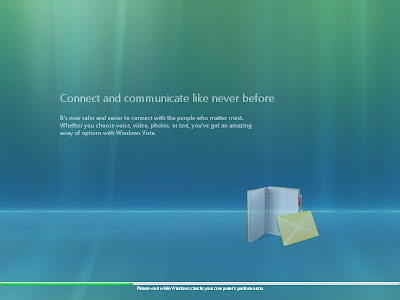
22. Windows is checkinh your computer performance. Please wait until loading complete
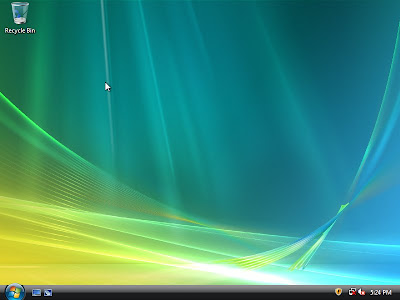
23. Windows start up and show the desktop. Installation is success.

1. First, enter BIOS and configure it for First Boot form CD/DVD
2. Insert Windows Vista DVD into your DVDROM drive
3. Press any key when see text “Press any key to boot from CD or DVD .." on your screen

4. Installer will load Windows files

5. It will show boot screen for a few second
6. You will see dialog box “Install Windows”. Select language, time format and currency. Click Next
7. Click “Install Now”
8. Type CD Key Microsoft Windows Vista (25 digit), click “Automatically activate Windows when I’m online” if you want Windows activate automatically when your computer online.
9. Click "I accept the licence term" for accept the licence. Click Next
10. Click "Custom (advanced)"
11. Select partition you will be used for operating system, for example I choose Partition 3 (min 10 GigaByte). Click "Drive options (advanved)
12. You can format the selected partition. Click Next
13. This is installation process. Please wait until complete
14. Click “Restar now” to restart the computer
15. Windows back to installation and prepare the computer for first time and finishing installation
16. Windows is loading system files and enter boot screen
17. You will see dialog box Set Up Windows. Type user name, password, retype password and password hint. Click Next
18. Type Computer Name and select background.
19. Select "Use recomended settings" to install recommended updates and protection. Select "Install important updates only" to install important updates only. Select “Ask me later” to leave it. It is not recommended

20. Select your time zone. Adjust time. Click Next

21. Click Start

22. Windows is checkinh your computer performance. Please wait until loading complete

23. Windows start up and show the desktop. Installation is success.


Comments
Post a Comment